This tutorial will show you how to create an ASP.NET Core MVC Website, with a custom SQL Server Database, in about 10 minutes.
Instead of using the file database generated by Visual Studio and Entity Framework, we will create a new database and connect it to this project. To be an excellent full-stack developer, you need to have a solid working knowledge of the back end by personally working with and manipulating the database. We will use the Microsoft SQL Server database and the SQL Server Management Studio for this tutorial.
This ASP.NET Core MVC website-building tutorial will be used as a starting point for many of the tutorials on LearnASPNET.com.
Prerequisites
Creating an ASP.NET Core MVC Website With Visual Studio
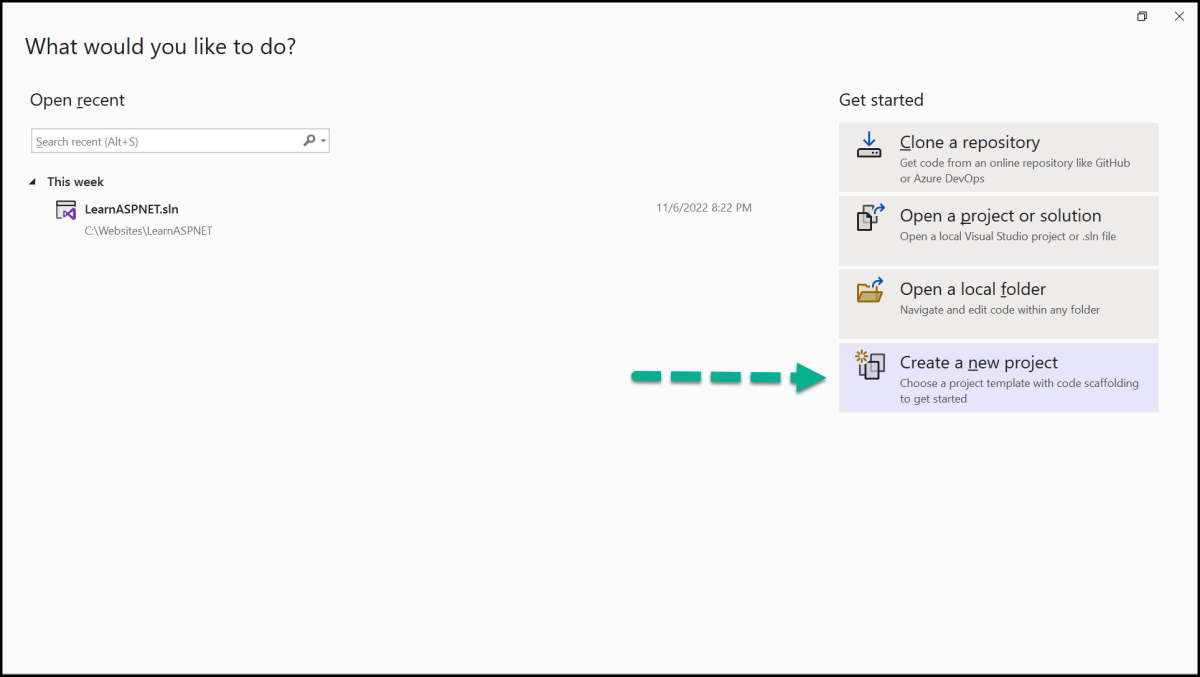
Open Visual Studio and create a new project by clicking the create a new project button.
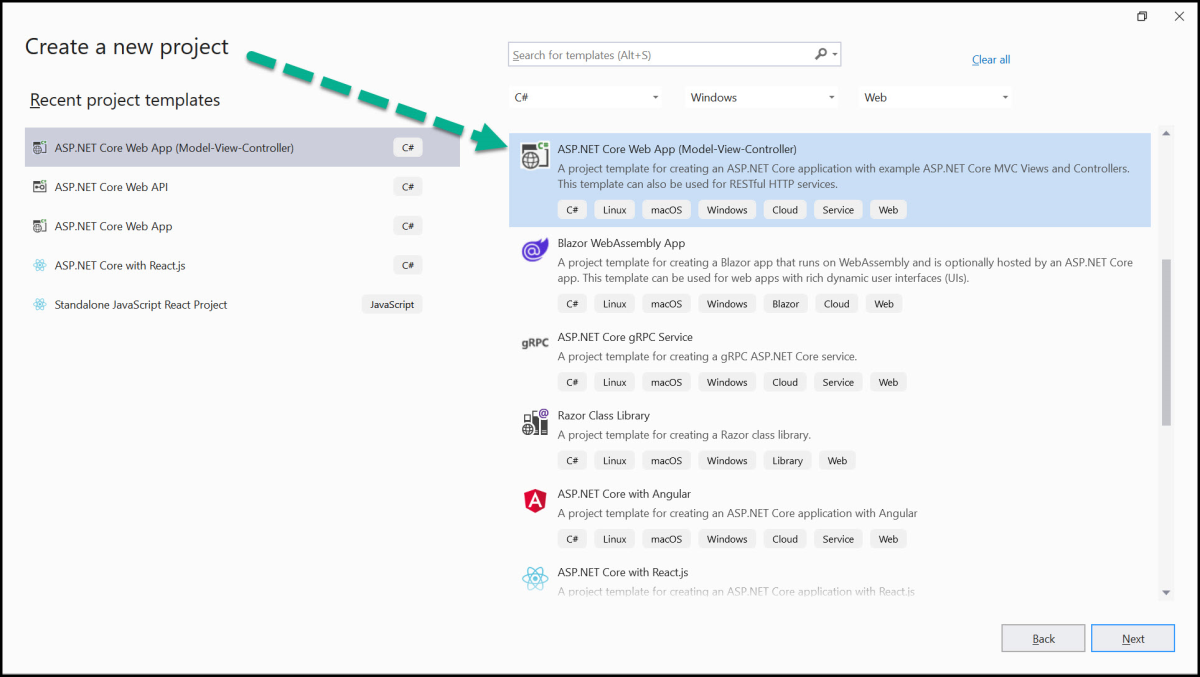
Visual Studio comes with many project templates. Choose the ASP.NET Core Web App (Model-View-Controller) project. Note: You can search for project templates using the search field at the top of the page.
Click Next.
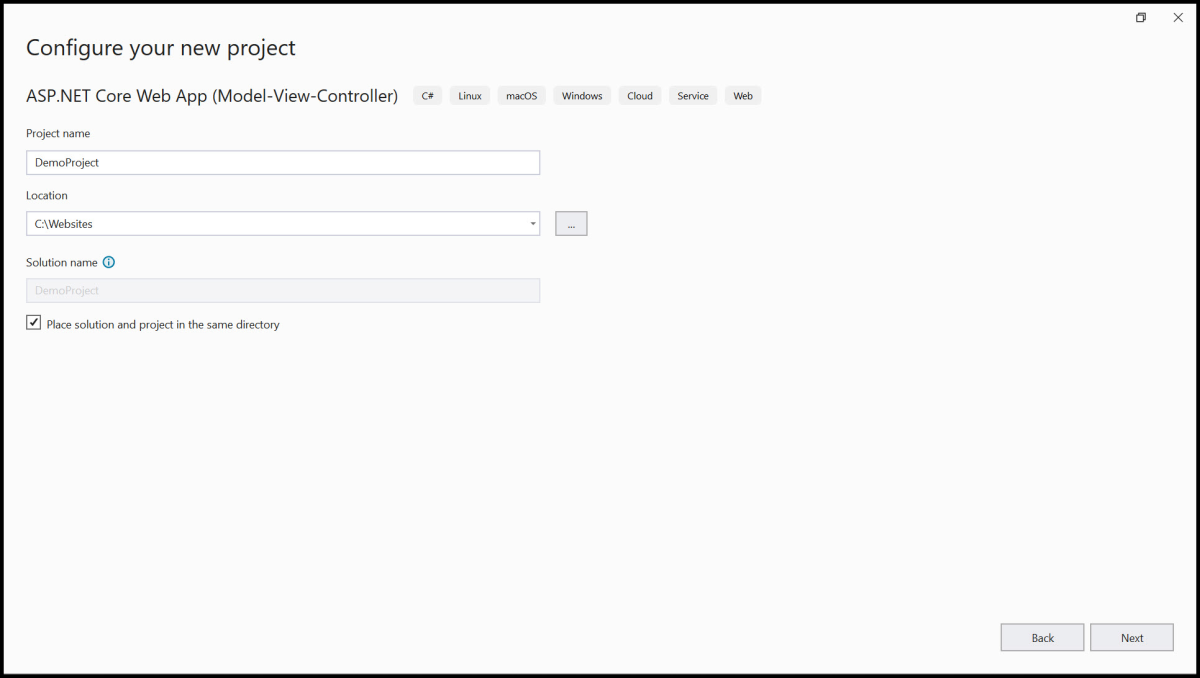
On the configure your new project page, name the project DemoProject. Choose a location on your computer where you want to save the project.
Click Next.
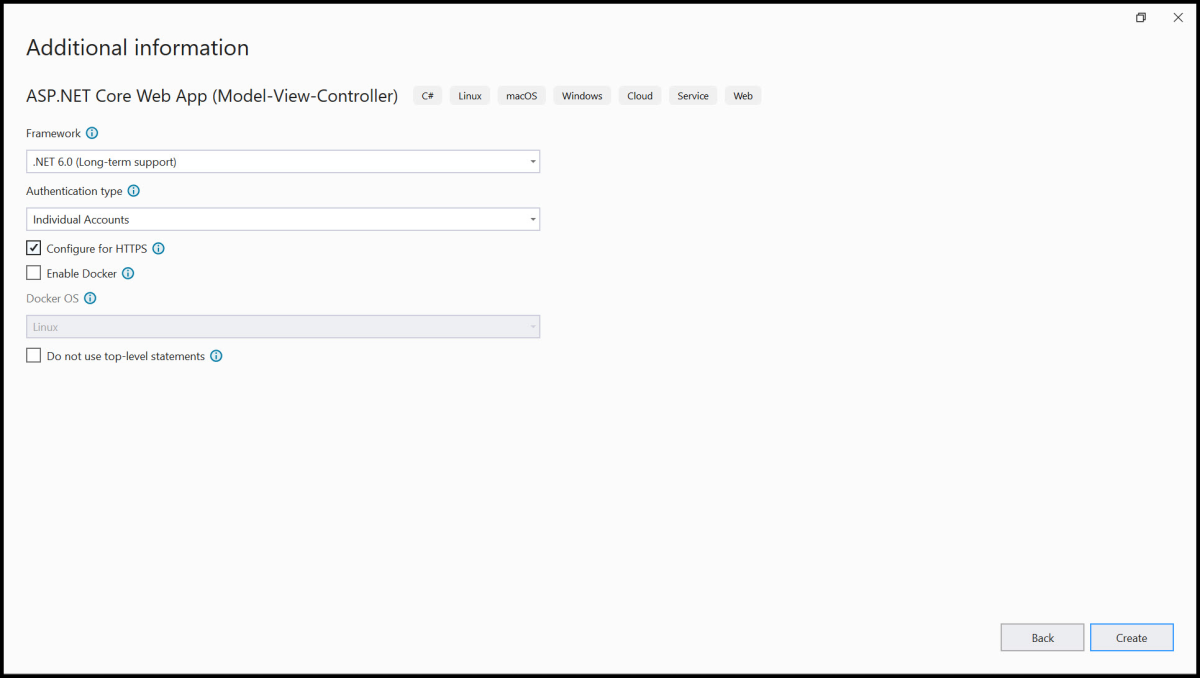
Choose .NET 6.0 (Long-term support) as the framework on the additional information page.
Choose Individual Accounts as the authentication type. Selecting this option will tell Visual Studio to create a user interface and database that will allow users to create and sign into an account with the login information.
Make sure the configure for HTTPS box is checked.
Click Create.
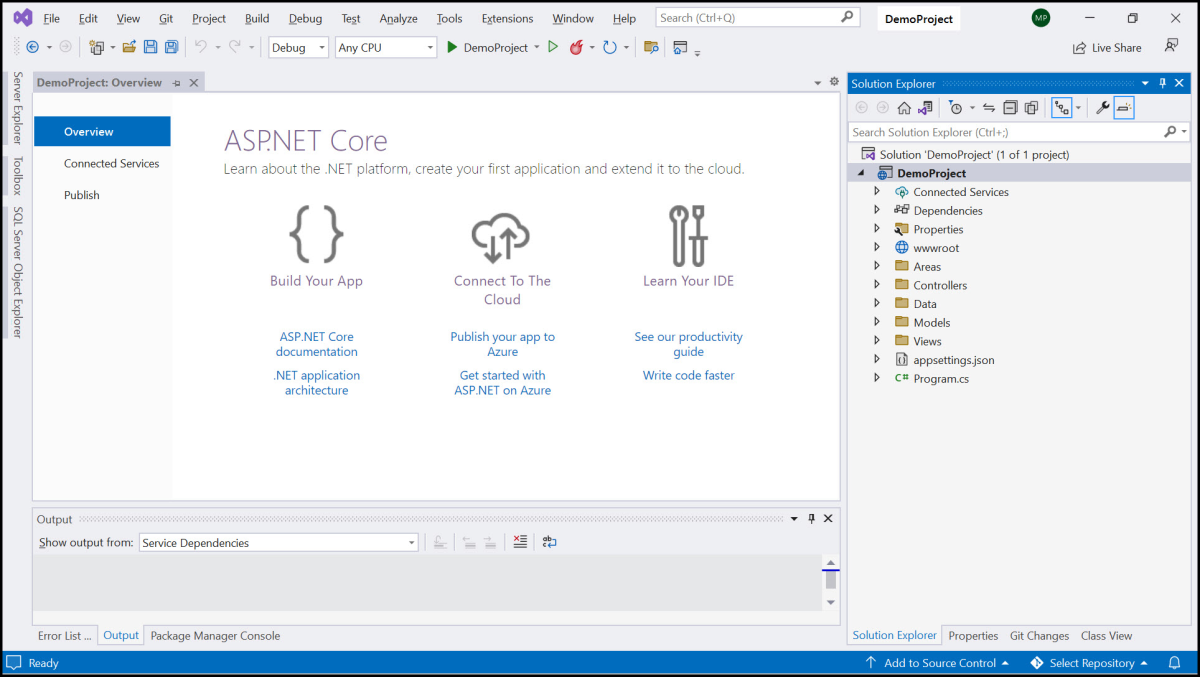
Visual Studio will now create all the files and code necessary for your ASP.NET Core MVC Website.
In the solution explorer to the right, you can see all of the project files generated by Visual Studio.
Open the folders and look around. Become familiar with the MVC architecture. You will notice a controller, models, and views folder. These are the three main folders of the MVC architecture.
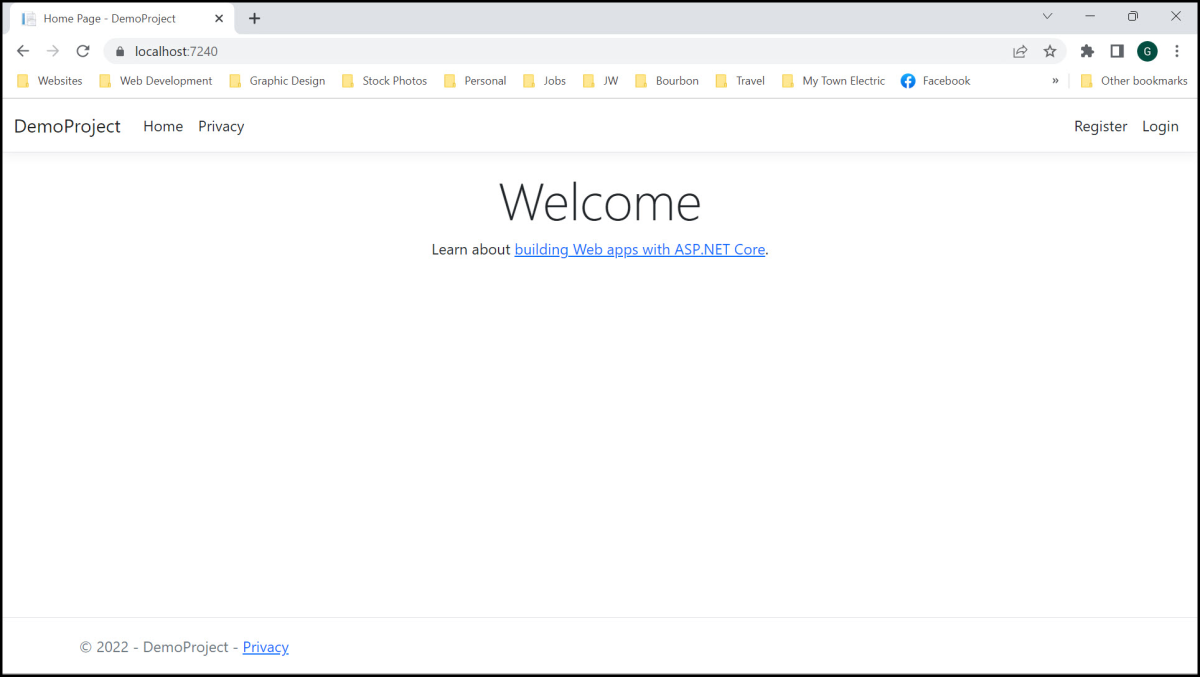
Run your web application in debugging mode by clicking the DemoProject button, with the green arrow, in the Visual Studio toolbar. You can also Select Ctrl+F5 to run the app without the debugger.
Below is what your application should look like. Click the links to see the pages generated by Visual Studio. Finally, click the Login link.
Wait to register as a new user; we still have some work to do in creating our custom database.
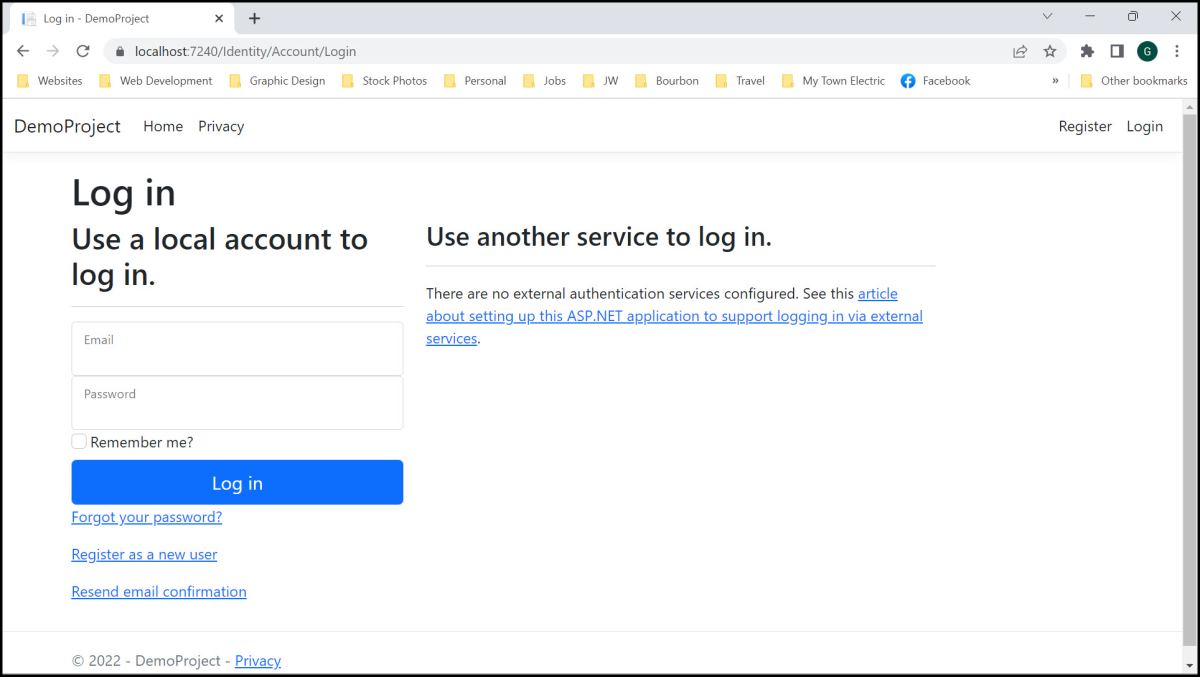
You have created a web application with user login capabilities.
You don't see it yet, but Visual Studio has created a file database connected to your application and manages user login. However, we do not want to use the file database created by Visual Studio. We will create a custom database and connect it to this application. We will use SQL Server Management Studio to create the DemoProject database.
But where is the database file created by Visual Studio? See Where Is the LocalDB Database File Created by EF (Entity Framework) Located on a Windows Computer?
Now, let's create the SQL Server database we are going to use with this application.