Proper, solid and failsafe watertighting is key to underwater photography.
Most photographing devices are created for use in the air. All optical, mechanical and electrical components must have air around them to work properly. So we encase the camera in an artificial “air bubble” to make sure it will operate in water. All underwater housings and also bodies of amphibious cameras are just artificial air bubbles, wherein our everyday mechanisms work as intended.
Waterproof should be distinguished from water-resistant or water-protected. Waterproof means shielded against water under ambiental pressure induced by the depth. Other terms should be understood as shielded against water under atmospheric conditions.
Shielded devices are made to keep out the water which is sprayed over the device, but such devices must not be immersed. This kind of protection is usually applied to cameras that change their volume during operation (i.e. when the lens zooms in our out), and these have to have some means of ambiental air intake and venting in order to work. Analog Olympus Stylus cameras, for instance, had a tiny hole under the ocular for just that purpose.
There are ways and ways in photo camera designing and production to make these waterproof, meaning impervious to water and depth pressure influence.
For example, a camera case may contain clear, electrically non-conductive fluid instead of air. This will cancel out the pressure differences, but it requires that all the optical, electronic and mechanical elements be adapted to the new operating medium. Such a device withstands almost all reachable depths, has excellent heat dissipation, but is impractical to dry-land usage. Its price keeps it in the special group of its own, too.
We normally distinguish between two underwater camera types, and both are becoming ever cheaper through standardization and mass production.
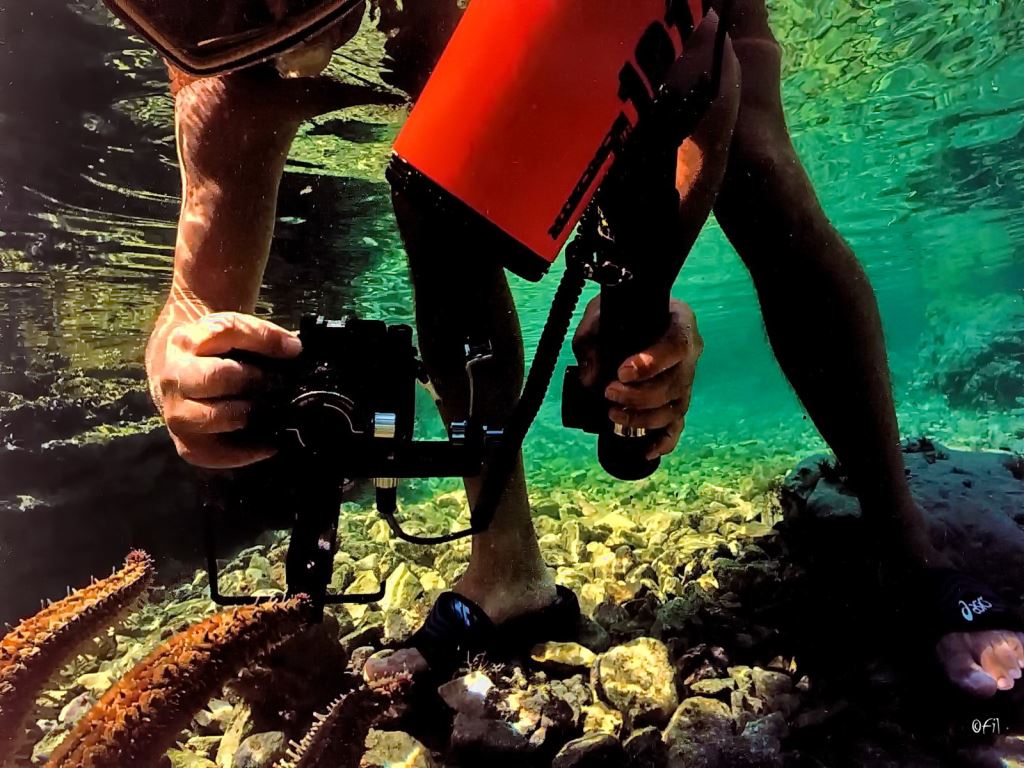
Amphibious cameras can be used in the air and in the water, which seems to be most practical. For now, such “amphibians” are somewhat depth-limited, usually to a maximum of -20 meters (66 feet). For SCUBA divers who normally go deeper, or for people who do not photograph underwater very often, the housings for their specific cameras may present a better solution. Whatever kind of a camera has been chosen, its “air bubble” has to remain dependably safe. In other words, it has to be properly and securely sealed watertight. Depending upon various factors, certain underwater housings may sometimes be quite a lot more expensive than the camera they shield.
In 2015 the first action cam appeared that has been built right into the casing which can withstand -50 meters water depth (6 Bar pressure), and there is hope the other manufacturers might follow suit! In 2016, the action cams appeared supplied with casings that can go down to -100 meters. Still, the photographers the World over are sorely missing the amphibious Nikonos series in its digital version for too long already...
It is clear that watertighting is the most important feature of all underwater cameras and housings. This makes it important to know what a watertighting system does, and how it should be kept in proper working order. The schematic drawings of several principles in use show how it works. You will notice how the best ways to achieve watertightness are usually also the simplest.
Since all cameras and u/w casings have to be opened to access batteries, contacts or memory cards, their doors, covers and hatches must be made to open and close many times, without compromising the ability to properly re-seal the opening.
Manufacturers are trying to construct these accessing points as simple as possible for the user to operate, but some of those solutions are not as safe as can be! The extremely flimsy and needlessly unique gaskets only make sure that every manufacturer sells their own spare parts. But those scratch-sensitive ridges and rubber covers are easily damaged – and when our camera floods and drowns, along with it goes also the joy of underwater picture-taking! Since any water ingress is never covered in the camera Warranty, this always makes it the user’s fault, although the blame should be rightly placed with implementation of the wrong sealing principle.
Among all the watertighting means known, the O-ring principle works best, every time. To this date, however, no amphibious camera employs this principle throughout, as the manufacturers stubbornly refuse to make their product more failsafe. As to why they do so, it's anybody’s guess. But it only appears mystical until you connect the existence of the built-in sealing type with the Warranty part referring to water flooding the camera!
Manufacturers employing O-ring sealings transfer all care and maintenance to the user, but also offer more safety to their camera housings. Everybody can learn how to keep O-ring sealings in perfect working condition, so no simplicity of use could be more important than that!
O-ring is a self-explaining name. It is made of perbunane, neoprene or silicon compound material. It is round in shape and also in cross-cut. The drawings here show it as a fat black dot. Note the way it becomes deformed under pressure and so augments its sealing ability.
Hatch Sealing

To work properly, an O-ring has to lie in a groove which is square in cross-cut. Such groove is usually provided either in the casing body, or in the cover that seals it. Usually the three sides of groove square belong to one part of the square, while the second part adds the fourth side.
An exception is seen in the Ikelite watertight box crosscut, where the cover and the box form the three sides of the O-ring square seat, while the fourth is open to the water and ambiental pressure. And while all the other sealing types shown provide fixed dimension of a closure where only O-ring will move to adjust itself under water pressure, the Ikelite type uses water pressure to progressively push the lid down onto the O-ring, although it allows the lid to "sink" a little, slightly changing the case volume. This type of sealing does its work equally well as the other O-ring principles shown, but the advantage is in the ease of Ikelite’s O-ring replaceability, removal and maintenance.
The other types shown are better where precise relation between sealed parts (such as lens-to-body or hatch-to-casing) has to be mantained for mechanical or optical reasons. Ikelite type sealing is simpler where the minute movement of the lid under pressure does not influence the workings of the device enclosed therein (such as a strobe or reflector lighting units).

O-rings are moved and deformed by water pressure difference. An O-ring is pushed by the outside water pressure, and will tend to "wedge" into the corner open to the inner (e.g. lesser) pressure. Thus, the greater the pressure difference, the better the sealing.
O-ring and its groove must be lightly greased so it can freely move and adapt. Proper grease must be used, depending upon O-ring material – so observe the manufacturer’s suggestion! It is important to note that the grease adds nothing to actual watertighting. It only makes O-ring and its groove slippery. Thinking “the more the better”, many people tend to overgrease, which is dangerously wrong. Surplus grease collects sand, hair and salt crystals, which may effectively break the sealing and let the water where it doesn’t belong. Usually a quality silicone grease will be used, as it is chemically neutral to the O-ring material, and also not easily washed away by the water.
A properly greased O-ring is just grease-shiny – nothing more. To remove it for cleaning and greasing purposes, the easiest way is to slide the O-ring with two fingers along its groove toward one side until it pops out. After cleaning the whole sealing area, lightly grease a q-tip and run it along the groove. Nothing but a thin film of grease should remain. Grease the O-ring by pulling it trough greasy fingers. It should appear shiny, but no grease blobs should be seen. Carefully put the O-ring back into the groove – and that’s all the maintenance it requires! The process usually does not require tools, but if you use any, make sure these are softer than both the O-ring and groove material! One scratch can ruin everything.
If you don’t use your camera (or casing) for longer time (like between seasons), remove all maintenance-accessible O-rings and save them separately. The casing should be kept closed sans o-rings. This way O-rings will retain their form. Prior to the next use, just clean and re-grease as described.
As to the amphibious cameras… For as long as manufacturers do not decide to employ O-rings troughout in their constructs, the only thing to do is strictly follow the instructions contained in the User’s Manual. If you take care of your camera or a casing and its sealing elements, these will serve you longer.
